But, in the meantime, I must share a life-changing even that's happened recently. But first, I have to explain something.
I'm a make-up Moron. With a capital "M." In the past, my make-up routine has consisted of a tinted moisturizer, maybe some under-eye concealer if I'm especially tired that day, one color of neutral eyeshadow all over the lip, some liner and some blush.
That's it. I have tons of eye shadow colors, and I don't know know how to use them, and I don't even know if they're right for my skin tone.
Enter, my life-changing moment: the day I discovered Make-Up Geek.
I've been forever-frustrated since our wedding, when my make-up artist at the always awesome Make Me Fabulous made me look amazing. My skin was flawless, and not red and discolored, and my eyes popped like Whoa. Since that day, I've been unable to recreate the look.
Finally, I turned to You Tube one night when I couldn't sleep. I found TONS of tutorials on how to not be a moron when applying make-up. And then, I stumbled upon Make Up Geek, a professional make-up artist that does close-up demonstrations of make-up applications and provides step-by-step instructions.
I watched video after video, learning the formulas for applying the perfect make-up. Did you know there's a pattern for applying eye make-up, tweaked a little for each eye shape? Yeah, me neither. Apparently there's this thing called "the outer V," and that's what makes your eyes pop and give them their shape.
I learned that for my red skin, I need to apply a heavier foundation (duh), and that I'm a warm tone, which means my skin has yellow undertones. I learned all about MAC products and their amazingess. I've always stayed away from MAC because they looked too bold for me, and quite honestly, the stores with the super fabulous make-up artists and the uber trendy music playing intimidate me. But I've come to realize that their saturated colors are what keeps me from looking washed out.
Each tutorial shows you all the colors she uses, the tools and cheap substitutes. Can't afford to pay $26 for MAC's Studio Fix Foundation every few months? Me neither. That's why I now use Revlon's Color Stay, a tip courtesy of Make Up Geek.
I've been studying these videos for a few weeks now, and my world has opened up. I kid you not. I'm obsessed.
So, I now present you to my new make-up collection of must haves, and almost all these tips and suggestions I learned from Make Up Geek:
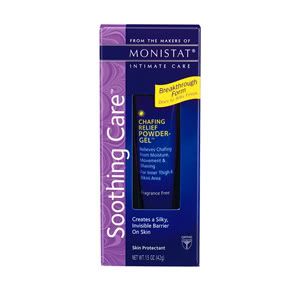
Primer. Make Up Geek recommends Monistat Chafing Gel as an inexpensive option to the Smashbox and MAC alternatives. I know, it's totally weird, but apparently, it gives you the same, smooth finish for a fraction of the cost. I have yet to buy this one, but after my little Nars primer sample runs out, this is my next purchase. My wedding days usually last at least 14 hours, so primer is a must!
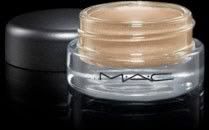
Next step is concealer, and I invested in the Mac one, which is MAC's Studio Sculp Concealer. I have very stubborn redness and under eye discoloration, and I've tried so many concealers out there. This one tops them all, and also, what my wedding day make-up artist used on me.
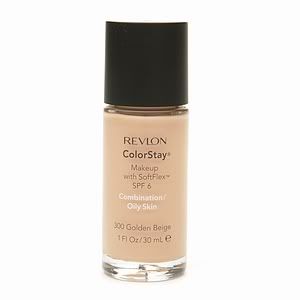
Sister Owl introduced me to MAC's Studio Fix Fluid Foundation, and I LOVE it. However, I don't love the price. Since foundation is something I use almost every day, I needed a less-expensive alternative. Make Up Geek introduced Revlon's ColorStay Foundation as the perfect substitute, and it's actually what she uses on a daily basis. I've only used it for a few days, and I think it works just as well, too.
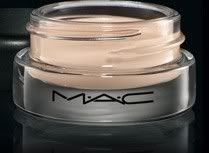
So apparently there's this stuff called eyeshadow base, and it's really important. Is that why my eyeshadow would be a giant brown smudge at the end of the day? I guess so. Make Up Geek told me about MAC's Paint Pot in Painterly and I love it. My eyeshadows last all day long, and it also makes the colors stand out more.
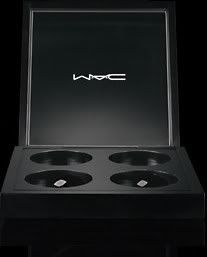
I can't stand having individual eyeshadows, so I really needed to purchase the $5 four-quad compact for my new colors.
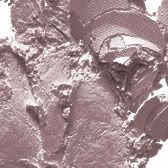
MAC's eyeshadow in Phloof is my lid color. I wanted something light, slightly shimmery and fun because the rest of my colors are neutrals. I also have small eyes so a light lid color was a must to open them up.
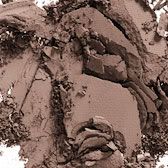
MAC's Wedge is my crease color. It looks really light in the store, but it's actually a little darker once its on.
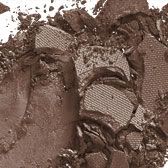
MAC's Espresso is my "outer V" color. I only use a little to wing out my eye and make them stand out. It looks really light in the photo for some reason. It's actually a few shades darker.
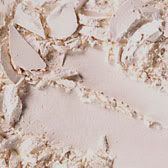
MAC's Vanilla is my highlighting color for right under the brow.
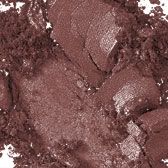
Finally, for shadows, I also purchased MAC's Expensive Pink. This picture doesn't do the color justice, though. I bought a separate compact for just "fun colors" that I can use for going out and special occasions. This is my first and only for fun colors so far. Make Up Geek claims there's no other color out there like it, and it flatters all skin tones. In person, it's gorgeous.
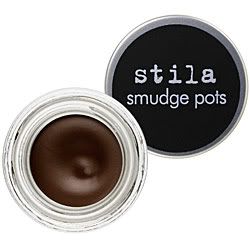
To line my eyes, I've had the same routine for about a year. I use Stila's Smudge Pot in brown (I also have black for special occasions). I use an angled brush, and line my eyes with it. It lasts ALL day, and it's hard to get off, which is why I like it. I have very short lashes, and just can't get them to stand out much, so the gel liner is perfect for me because it gives the illusion of a thick lash line.

Of all the mascaras that are out there, my wedding day make-up artist used Loreal's Double Extend Mascara. It has a primer on one end, and the mascara on the other. I don't often have luck with mascara because, as I said before, I have very short lashes that are also very thick, so curling does nothing. This is the only mascara I've ever used that does something for my lashes. It's not much, but I'll take it! I also don't use it every day. Only for special occasions.

Make Up Geek recommends Maybelline's Dream Mousse Blush in Peach Satin, so I bought it. And surprise, I loved it. It's inexpensive, and you only need to use a tiny bit each day. The color is perfect - very fresh and lively - and it lasts all day. I bought an extra because they were Buy 1, Get 1 Free at Ulta, and I keep it in my purse. I find that if I need to freshen up one thing late-afternoon, it should be blush. It instantly makes me look more, well ... awake! Ha!
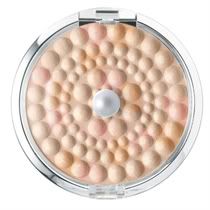
This is something I came up with on my own. To highlight cheeks, Make Up Geek recommends MAC's very expensive Mineralize Skinfinish and while I'm sure it's an amazing product, it's not in my budget right now. For half the cost, I found Physicians Formula Mineral Glow Pearls, which I purchased in Translucent. I brush it along the tops of my cheek bones for a subtle glow, right where the light catches, and it lightens up my whole face.
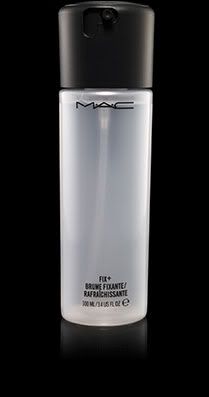
Finally, last step! I set everything, especially on wedding days, so I don't melt! I'll dab a bit of whatever's-on-sale-at-the-drugstore mineral powder on my T-Zone (I buy small sizes to keep in my purse), and spray MAC's Fix and Spray all over to give my entire face a nice, subtle shine and set everything. I love it. It feels great in the morning, and it helps to keep everything in place until I get home at night.
So, there's my new and improved make-up routine. Luckily, I already had nice brushes, but did invest in MAC's No. 217 brush, which I can't seem to find an equivalent of anywhere else. I bought it on eBay, though, for less money. It takes me about 5-10 minutes more in the morning to get ready (before it only took me 5!), but it's worth it.
So many thanks to Marlena at Make Up Geek for being awesome and sharing all of your tips with the world. You can also visit her site with all her videos, product reviews, articles, etc.
So, why am I posting about make-up on a home decor blog? Well, there's actually a reason. Now, my tiny little make-up counter in our bathroom is overflowing with products. Another organization project for me this weekend! I'll post before and after photos on how to organize your make-up counter. Coming soon!

